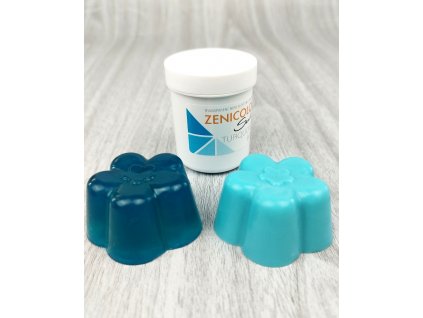
Gift starter kit for making XXL soaps
Enjoy magical fun with a creative scented soap making kit and get the whole family involved! This kit brings you the silicone moulds, fragrances, dyes and other materials and tools you need to make beautiful soaps. Not only that, you'll also find sachets in the set so you can give the soaps you make as a nice treat to your loved ones.
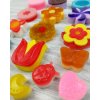
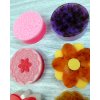
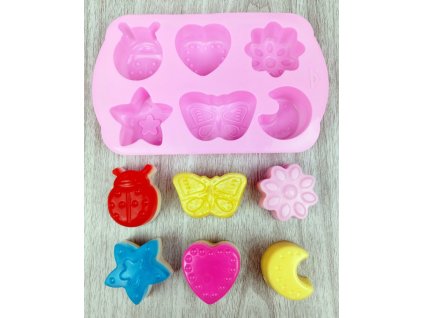
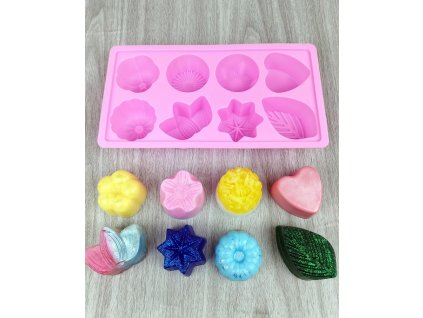
This set combines creative time and useful products that everyone uses. But thanks to the interesting forms, the soaps will not only be useful, but also beautiful.
You can make 14-20 pieces of beautiful soaps from the set. It depends on the height of the mould filling and also how big shapes you will cast.
You don't need to buy anything else to the set, it contains everything for easy creation including instructions in four languages (CZ, SK, DE, EN).
Package size: 30 x 20 x 8 cm.
All our silicone moulds are reusable. Will you want to make more soaps? Just buy more soap mass.


Set contents:
- 1x soap mass transparent 500 g;
- 1x white soap mass 500 g;
- 1x silicone soap mould 25,8 x 16,7 cm;
- 1x silicone soap mould 27 x 9,8 cm;
- 1x silicone soap mould 10,5 x 16,7 cm;
- 4x essential oil: lavender, rose, vanilla, mandarin;
- 5x liquid soap colour 10 ml: red, yellow, purple, blue, pink;
- 1x powdered soap colour in bag pearl white 5 g;
- 1x sachet with dried calendula 10 g;
- 1x sachet with dried lavender 10 g;
- 1x fine glitter in a 5 g bag;
- 20x cellophane bag 10 x 11 cm;
- 20x organza bag 10 x 15 cm mix of colours;
- 10x paper cup 245 ml;
- 10x wooden spoon;
- 5x plastic pipette;
- 1x plastic sheet to cover the work surface 100 x 140 cm;
- detailed instructions in CZ, SK, DE and EN.
Everything is packed in a beautiful gift box measuring 30 x 20 x 8 cm.
Additional parameters
| Category: | Soap making kits |
|---|---|
| Weight: | 1.1 kg |
| The item has been sold out… | |
Be the first who will post an article to this item!


